Oral History Projects are an arduous task. The first thing to attempt is to think of a story that you want to tell using audio to record it. One can record audio by using digital recorders in which you can save the audio into wav or mp3 format. Or, one can use an audio tape recorder.
The first thing to do is think of a story in which you could tell by interviewing people. One can decide a topic, in the past I have collected people’s stories on the blackout of New York City in 2003. I then collected interviews. However, before one begins to interview people, they must have the interviewees sign a waiver. One can find more information on the ethics of collecting oral history at Columbia University’s Oral History Research office (http://www.oralhistory.org/about/do-oral-history/oral-history-and-irb-review) for guidelines. For more information on metadata schemas for oral history projects, one can go to the Asssociation for Computers and the Humanities website.
http://digitalhumanities.org/answers/topic/oral-history-metadata-standards-and-schemes
As mentioned earlier, one can record interviews using an audio cassette recorder or a digital recorder (which is usually found in people’s smartphones). If you are using an audio cassette recorder, you will need to digitize it.
How to digitize audio from cassettes
One method of digitizing is by using Audacity, a free program available through download.com.
The first thing you will need is a Stereo 3.5mm mini jack (male) at both ends.
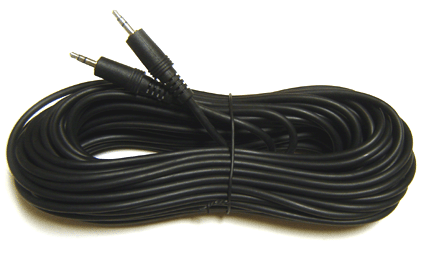
This will connect to the headphone input on the cassette player and then the other end will go into the microphone input of your computer
Once you have set the tape up and Audacity is up, you will have to choose “Line In” as the input source on the Audacity toolbar, or in the Audacity Preferences (Windows Vista and 7) or Apple Audio-MIDI Setup (OS X).
Once you have cut and edited the audio to the way you want it, you can save the audio as a wav and then convert it later on through Itunes into an mp4, that way it is user to work with when you get to garageband.

How to create a video podcast
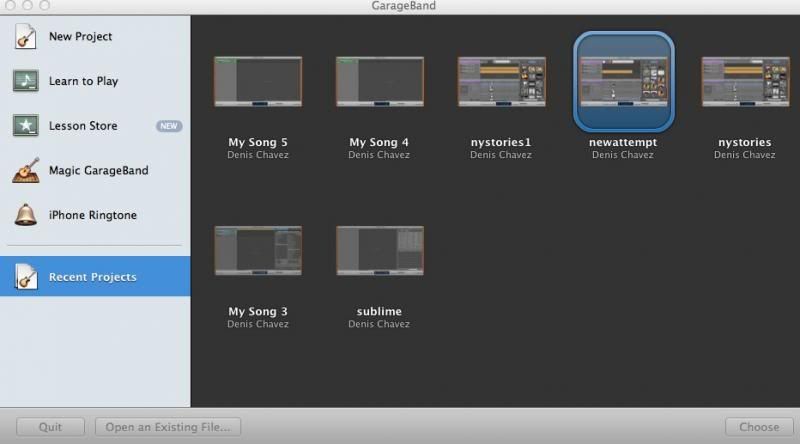
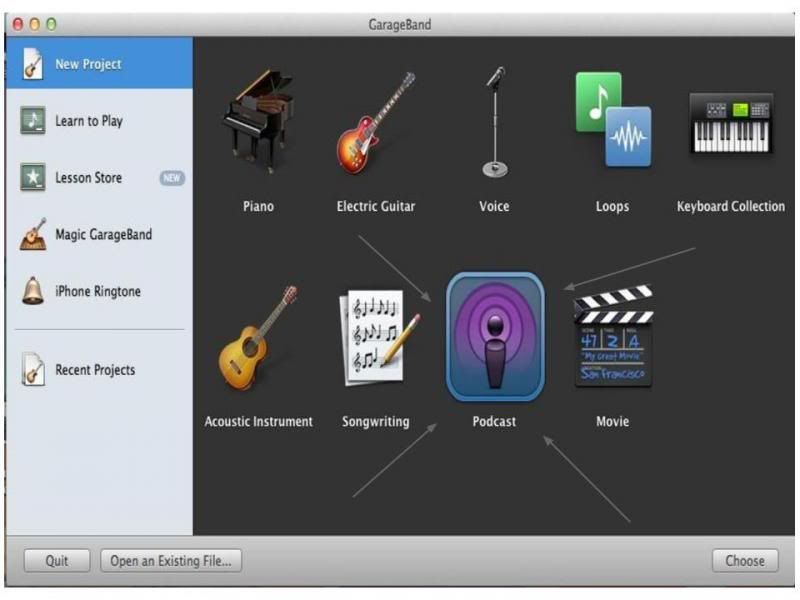
After you open up a new project, you will select the option of “podcast”.
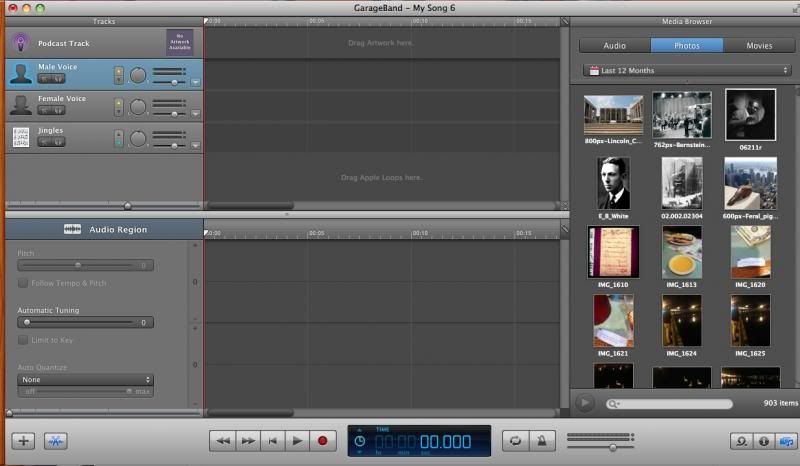
On the right side, garage band will have compiled all of your images and audio. It is best to collect the images that you will use for your project in one folder in order to have it. The same goes for putting your audio in one folder as well.
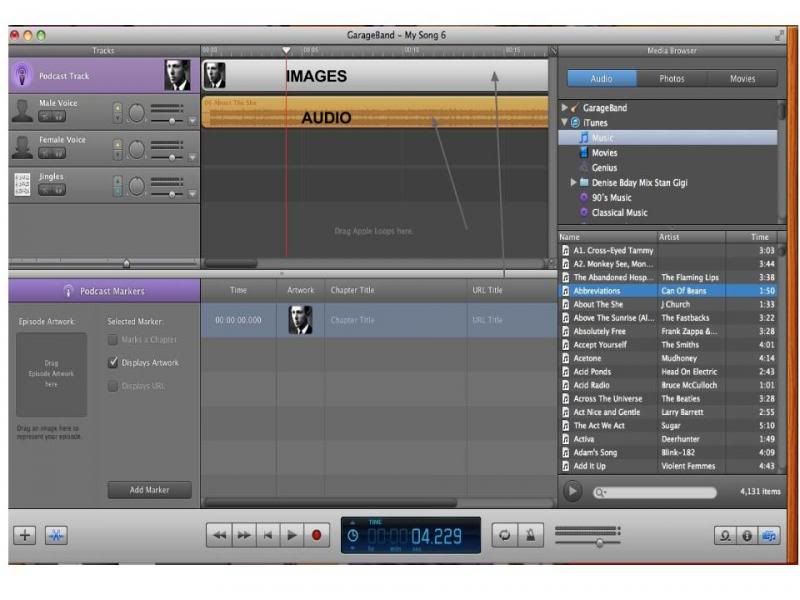 It is here where you can play around with what images you want to align with particular audio. If you have someone talking about specific that you have an image of, you can have them both line up so that when they play they will be in synch with one another.
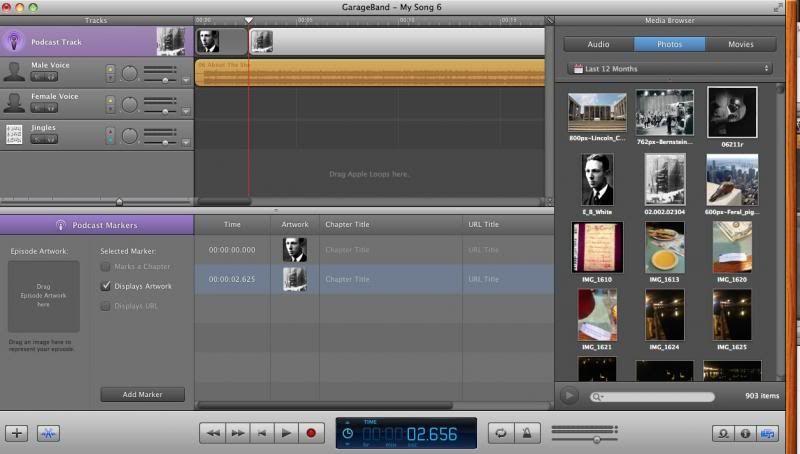
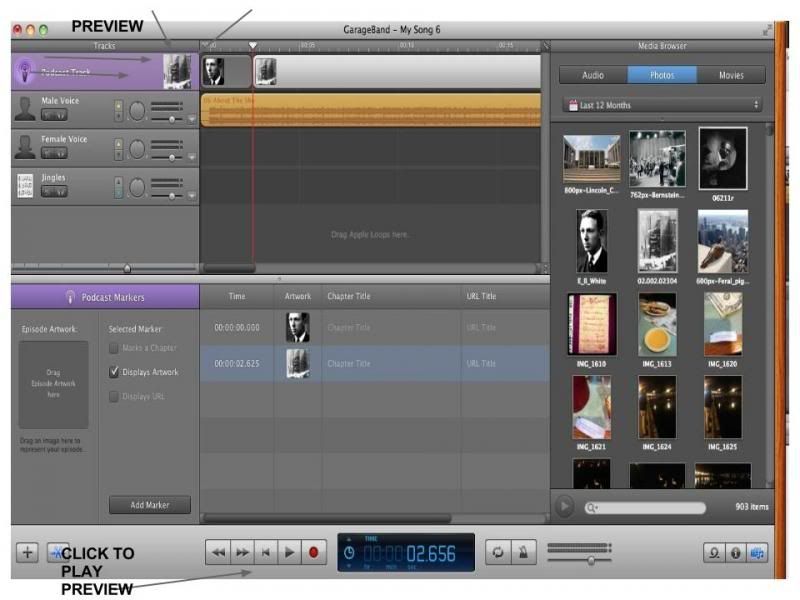
While you are synching you can preview what your video podcast will look like on the uppleft corner. You can also make it open into a bigger window.
Although not an oral history project, this particular project that i had worked in the past combines, music, audio and images compiled and put together by me to tell a story about a particular tale. Oral histories play a huge role in the community of digital humanities. These projects can lead up to bigger projects that could progress into huge digital humanities projects.